Verified Users Setup Guide
This article will guide you through the process of setting up the Verified Users extension for UsersWP.
Getting Started
You need to have the Verified Users extension for UsersWP installed and activated in order to access these options.
The Verified Users extension for UsersWP allows you to show a verified user badge in the user’s profile, next to the user name -- just like the one you'd see on social networks such as Twitter and Instagram.
When active, the extension adds a settings page to UsersWP > Addons > Verified Users. You (administrator) can tweak the settings as per your requirements. For additional details, please see our Settings Overview.
How Does the Verification Process Work?
- 1
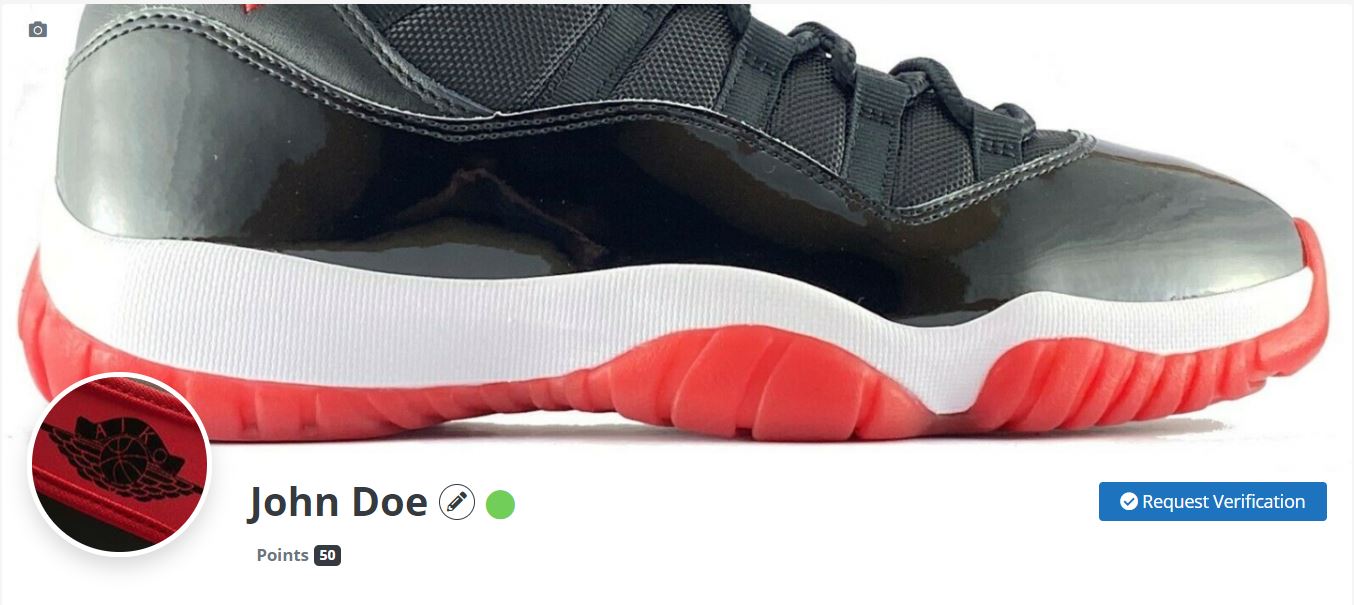
- First, users request for verification from their profile page -- the extension adds a Request Verification button for this purpose.
- 2
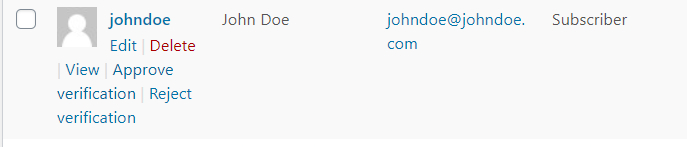
- Next, the administrator gets an email with the verification request details. The request can then be approved or rejected by the admin from the Users page.
- 3
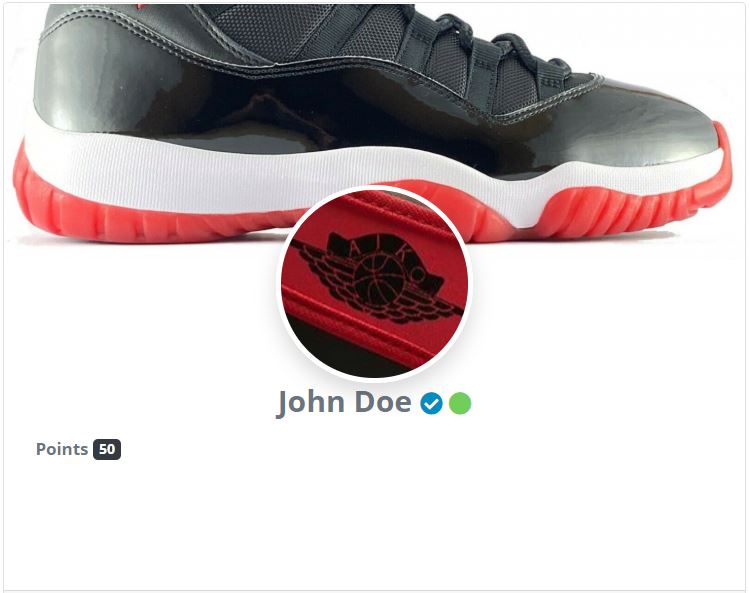
- Once verified, a verification badge will be displayed next to the user's name. A confirmation email will also be sent to the user. Read more about Verified Users emails.
Admin can also go to a user's profile and select Verify User from the Account Verification drop-down to mark a user as verified.