This article will guide you through the process of setting up the WP Job Manager extension for UsersWP.
Getting Started
The WP Job Manager extension lets you display “Jobs” tab on User Profile pages which shows the job listings created by the user. It comes with the following sub-tabs:
- All — All Job listings created by the user
- Unfilled– All Job listings created by the user, but not filled yet.
- Filled — All Job listings created by the user, but filled.
Adding Tabs to User Profile
- 1
-
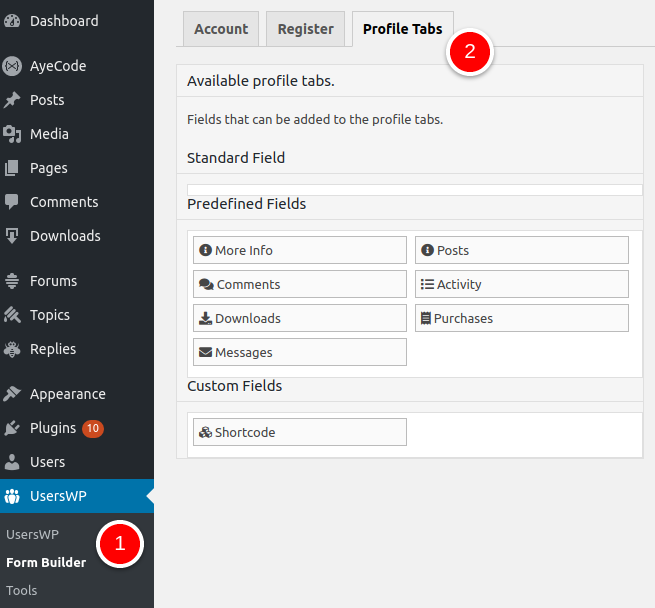
Once you have installed and activated the extension, head to
UsersWP > Form Builder > Profile Tabs. - 2
- You will notice a new tab — Jobs. You can simply click to add it to the user profile.
- 3
- Be sure to save your settings.
This is all! This extension does not have a separate Settings page to configure. Be advised, Jobs will show up on the frontend based on the settings and configuration of the WP Job Manager plugin. It is a good idea to go through the WP Job Manager documentation before configuring the WP Job Manager extension for UsersWP.